Trimming and mixing videos in premiere pro
Separating the highlights and key messages from hours of raw footage requires a tool that makes for easy clipping and painless export to multiple devices. For example, suppose you want to show a series of short movie clips as part of a lesson. You can extract only the clips you want and share them as separate files. Imagine that you’ve identified some videos to include in your research project, but you only need to share a few minutes from each video. You can very easily extract only the parts you need.
In this tutorial, you will see how Adobe Premiere Pro lets you blend and trim the best of your original footage and then make these clips available on a university website, a variety of mobile devices, youtube ,DVDs and more.
![]() Click on the image to see the full size
Click on the image to see the full size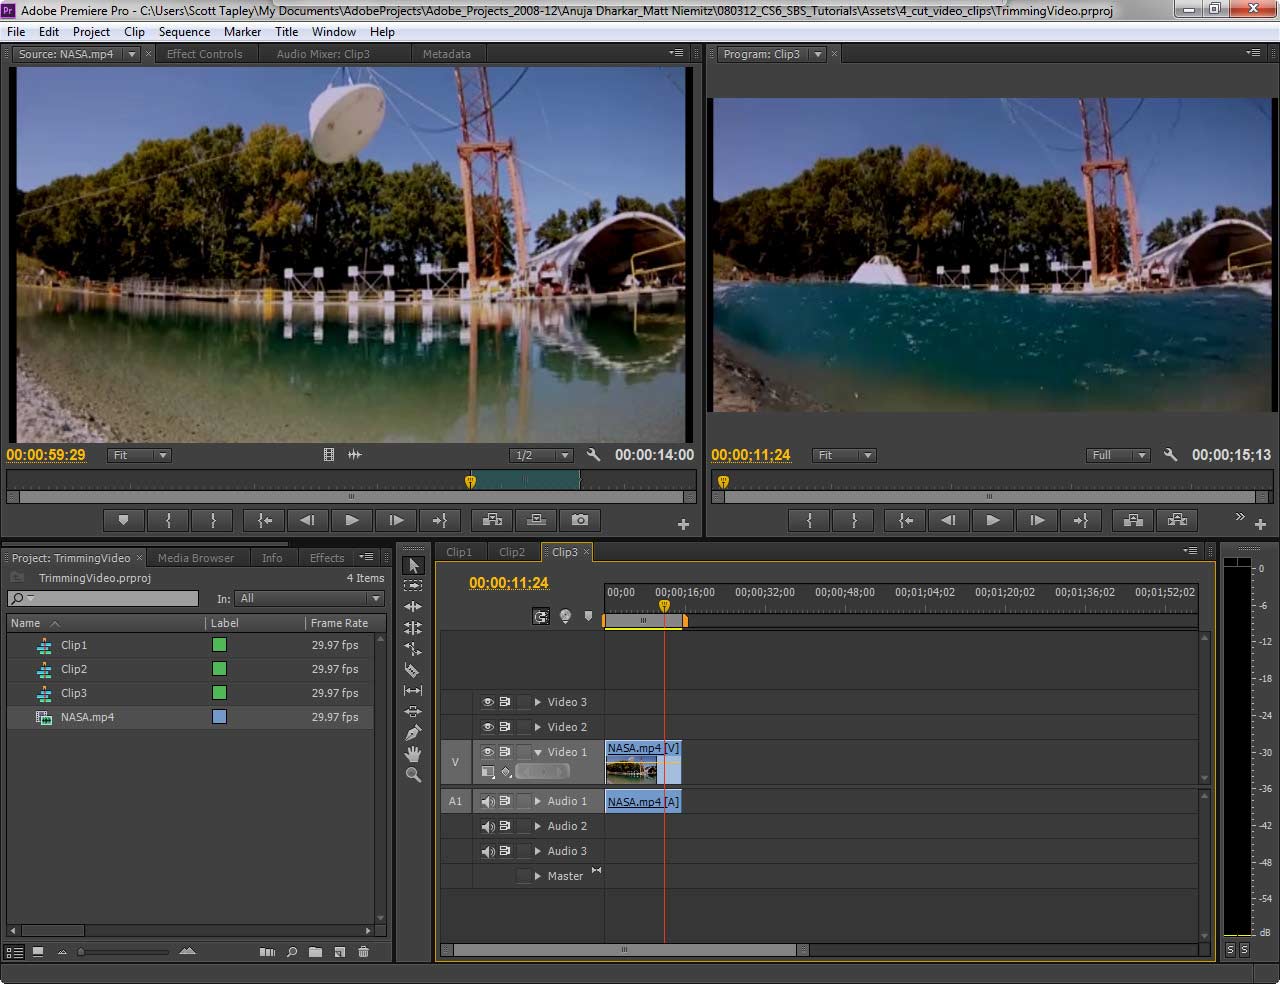
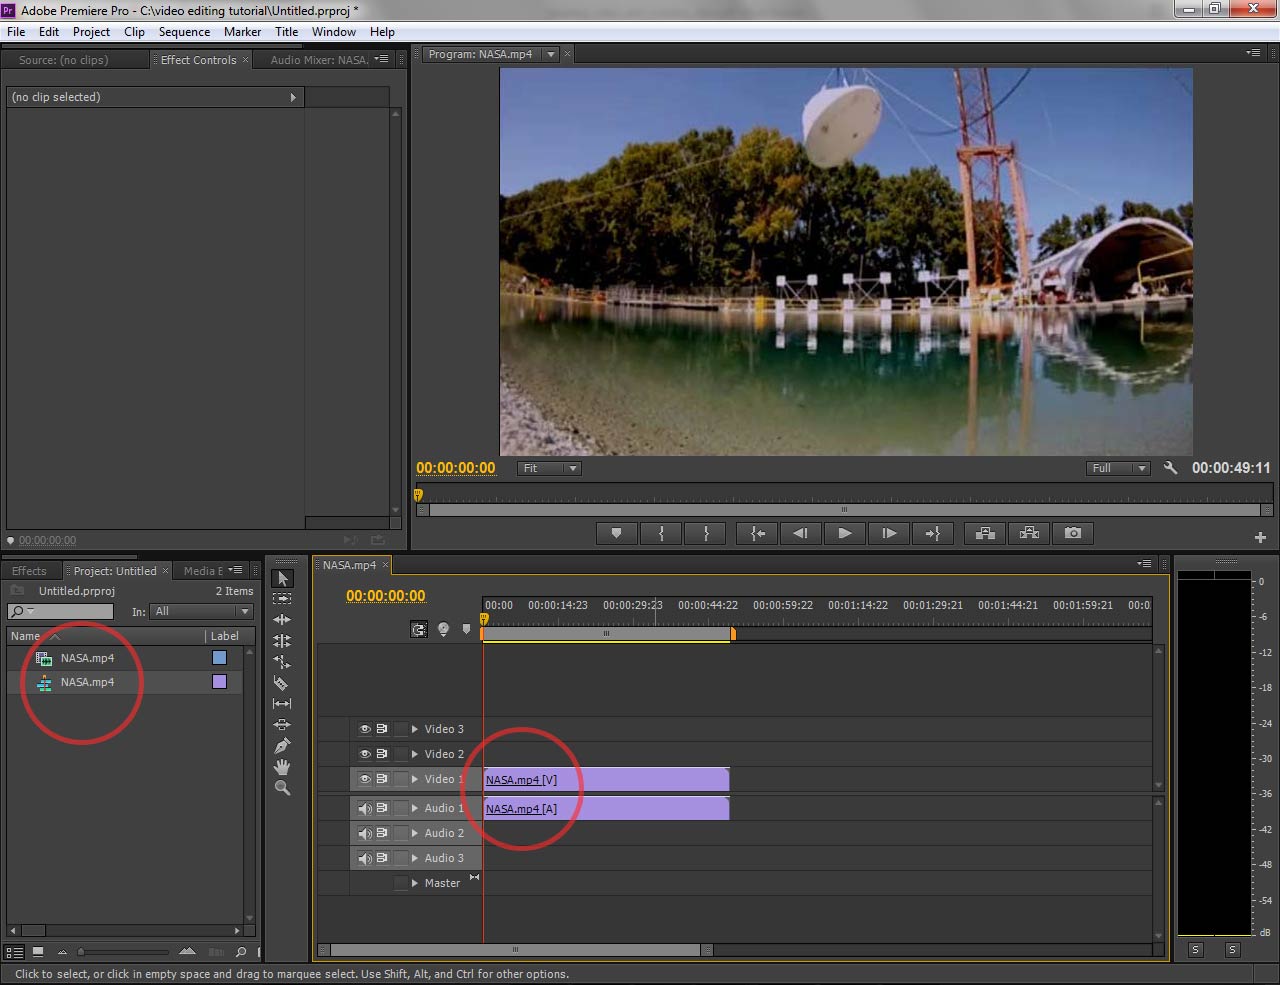
Adobe Premiere Pro project workspace
Opening a new Adobe Premiere Pro project
The first step to producing multiple video clips is to open a new project in Adobe Premiere Pro.
To open a new Premiere Pro project:
1- Start Adobe Premiere Pro.
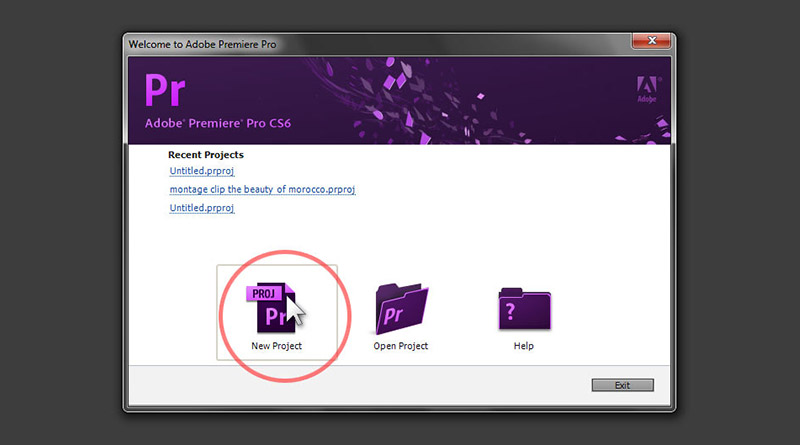
2- In the Welcome screen, click New Project, or choose File > New Project.
![]() Click on the image to see the full size
Click on the image to see the full size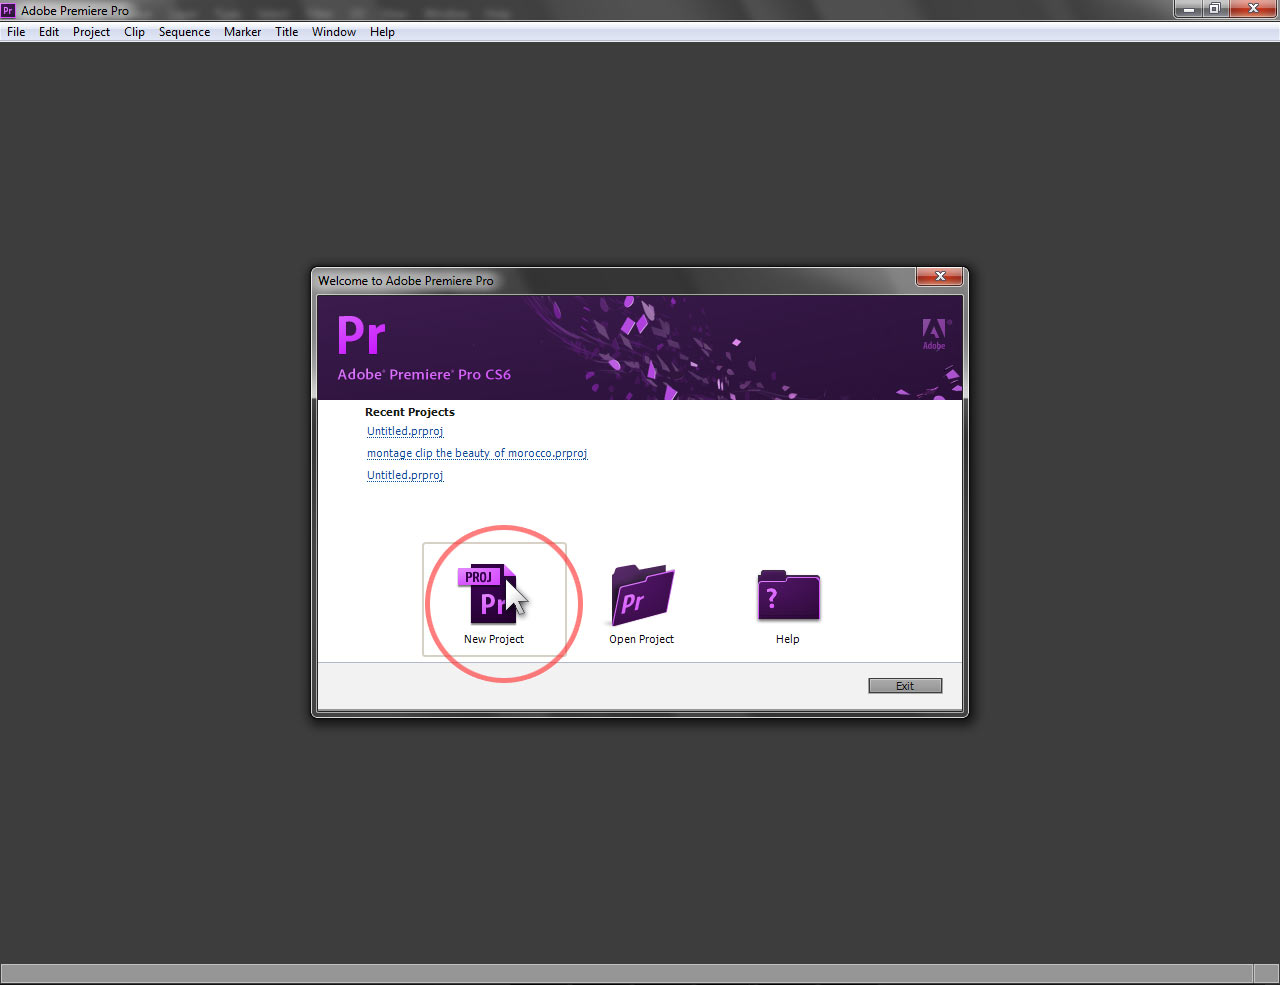
the Welcome screen
after clicking New project the New Project dialog box appears. You need to enter a name and location for the project file. You can also change to the Scratch Disk tab and set a location for storing the project audio and video files.
![]() Click on the image to see the full size
Click on the image to see the full size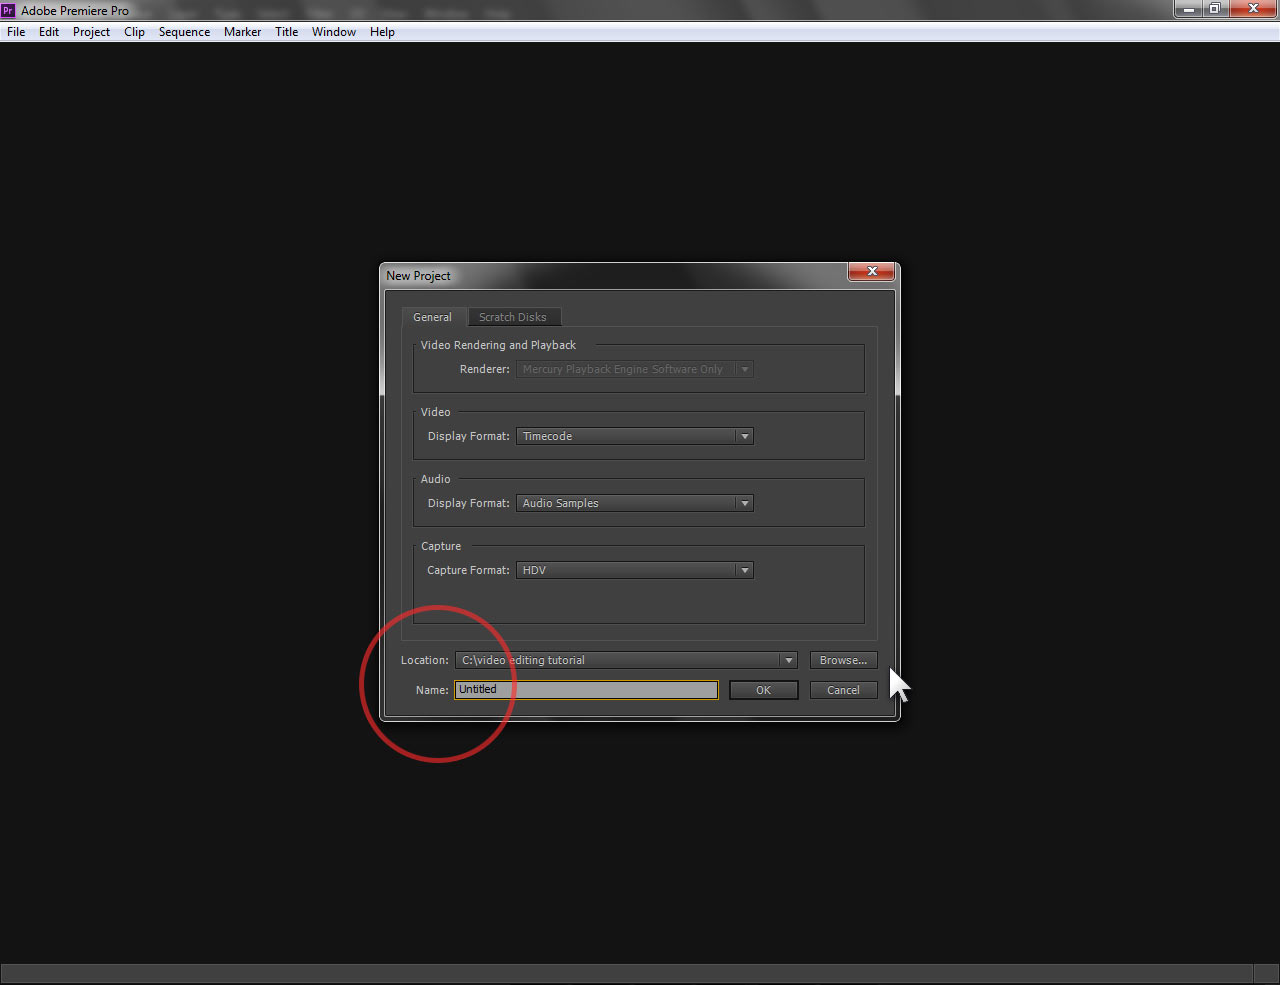
New project dialog box
3- Click Browse to select a location for the project.
4- Enter a name for the project, and click OK.
The New Sequence dialog box appears
![]() Click on the image to see the full size
Click on the image to see the full size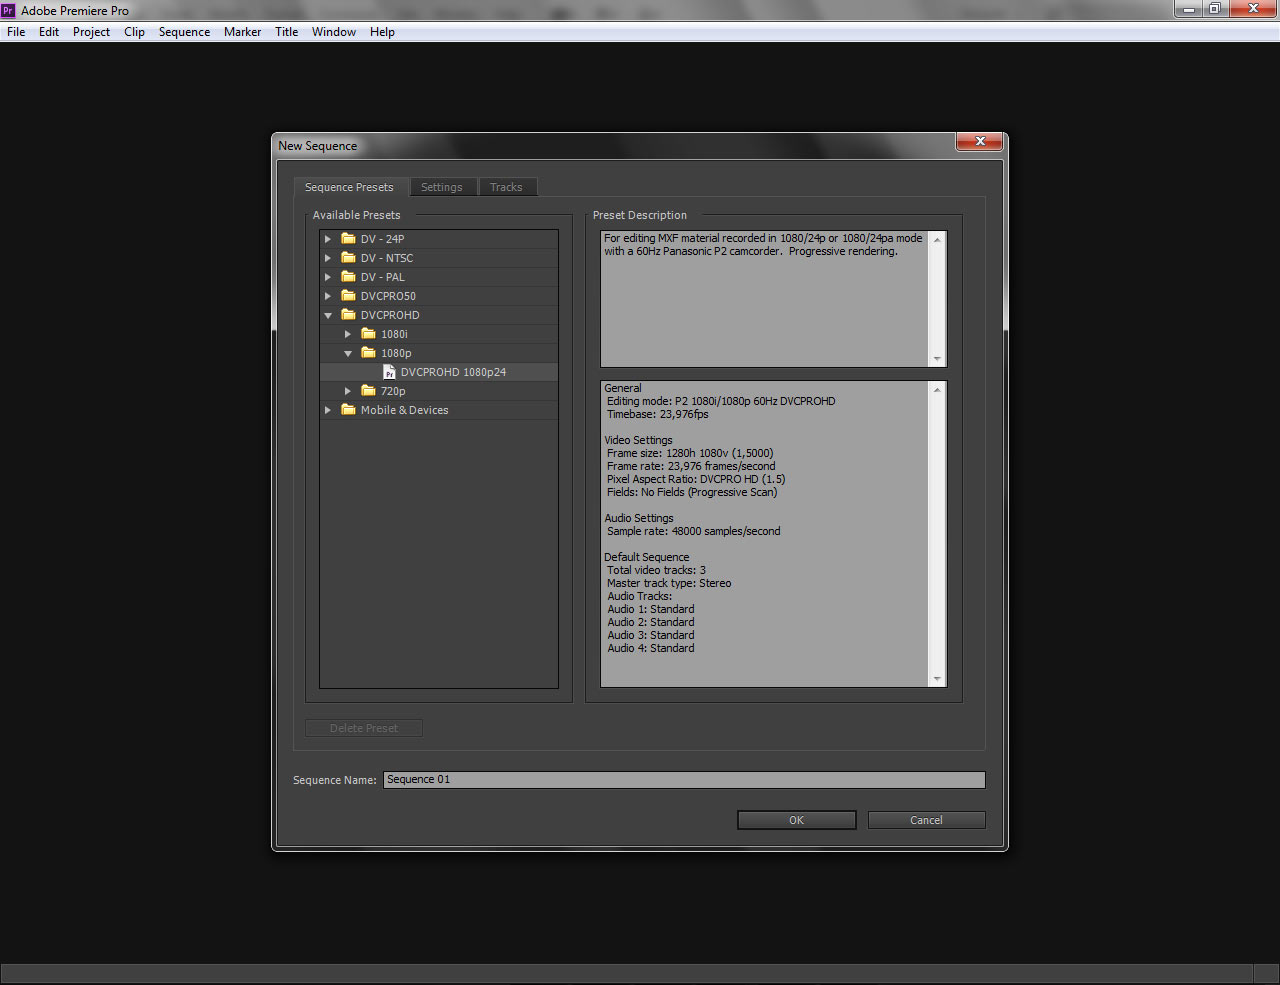
New sequence dialog box
Every project begins with one new sequence. You can add additional sequences later. The Sequences dialog box includes several presets for the type of video you’re editing. Generally, the format you choose should match your source video, not the final output you intend to create.
In the Available Presets, select a preset that matches the format of your video source.but If you still dont know the format of the video you want to edit then you can skip this step by clicking on cancel.
![]() Click on the image to see the full size
Click on the image to see the full size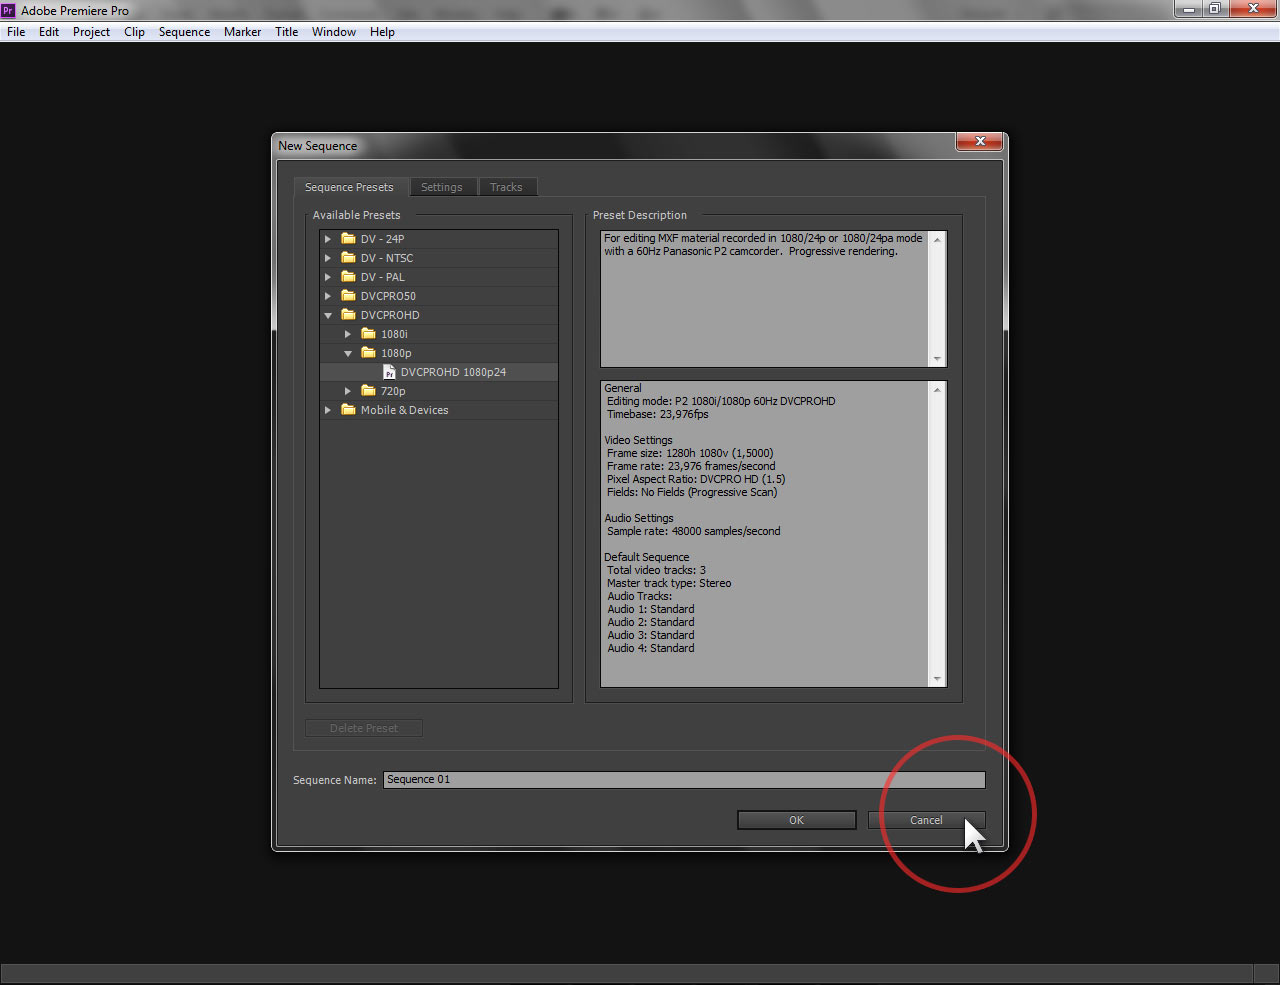
after clicking on cancel the workspace will show up empty.
Select Window > Workspace > and make sure Editing is selected.
![]() Click on the image to see the full size
Click on the image to see the full size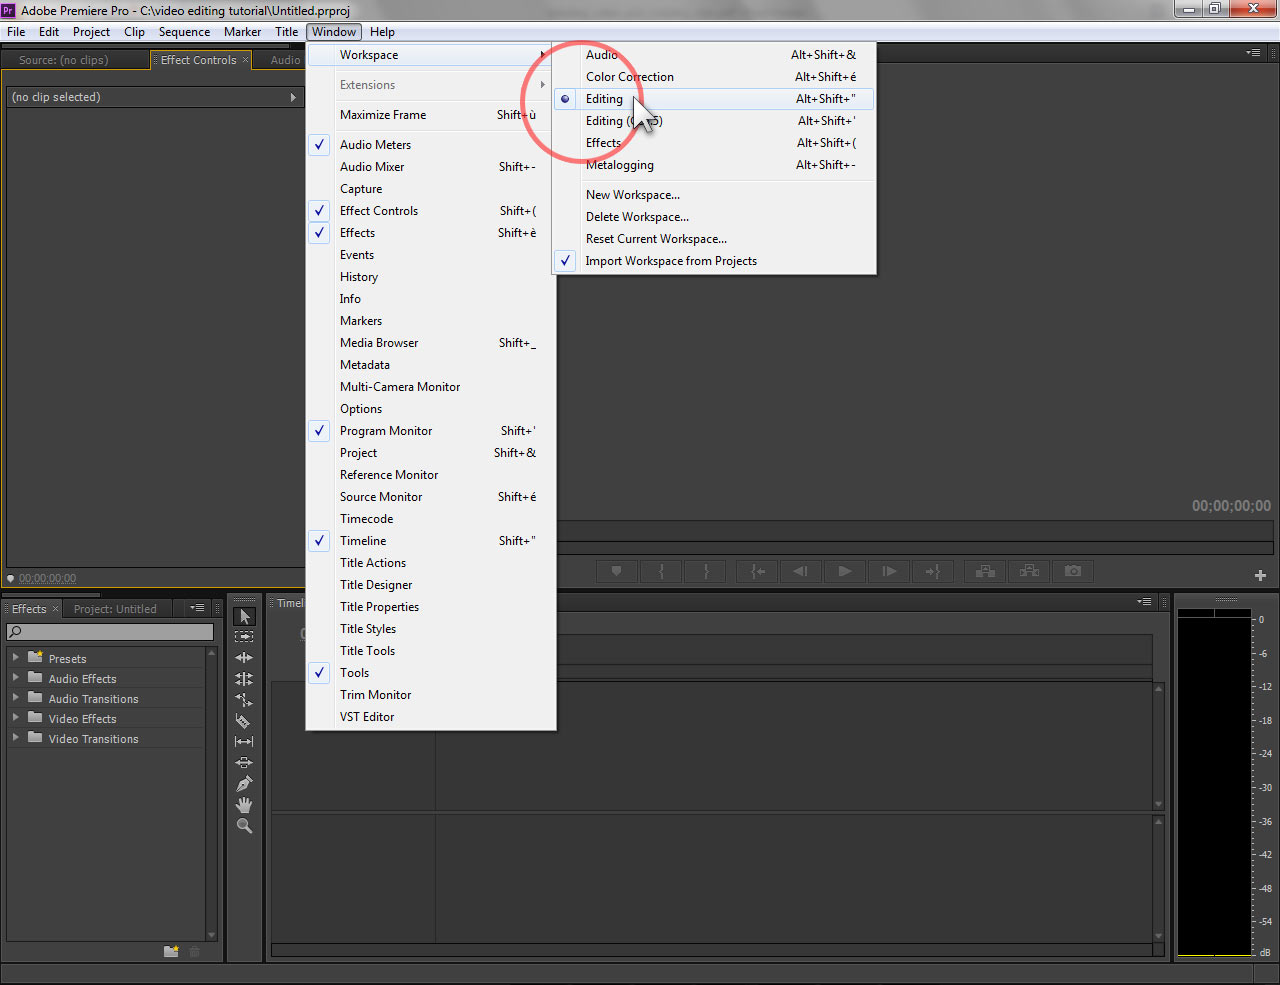
when the workspace show up we make sure Editing is selected
The Editing workspace includes the Project, Source, and Timeline panels, which you’ll use to trim your clips.
Capturing or importing your source footage
There are two ways to get your raw unedited footage into Premiere:
Cutting and mixing videos in premiere pro
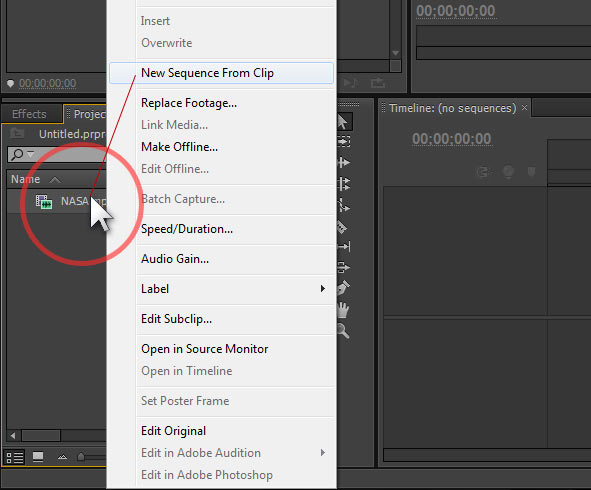
There are a few ways to divide your source video into separate clips. You can drag the source video into a timeline, cut it into smaller parts by using the Razor tool
, and then copy the smaller clips into separate sequence timelines. You can also trim your source video in the Source panel and drag trimmed clips into separate timelines.
To cut your video into smaller clips:
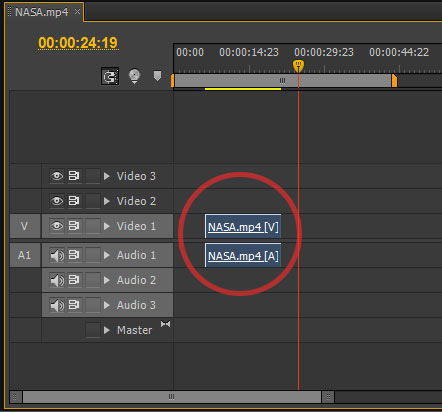
1- Double-click the source video clip in the timeline to open it in the source panel
Double-click the source video to open it in the Source panel
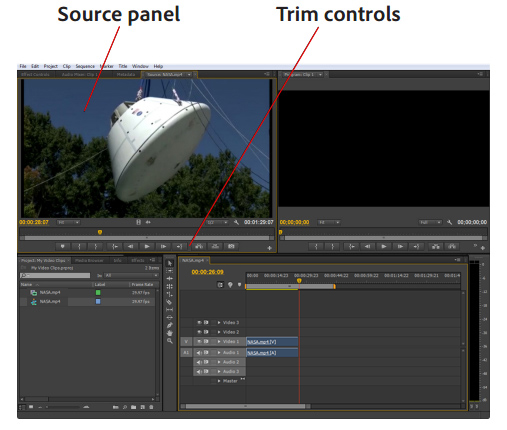
With a clip loaded in the Source panel, you can use the trim controls to mark in and outpoints for the clip
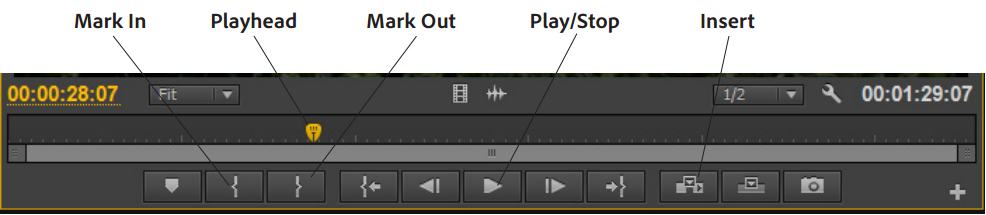
Trim controls
2- In the Source panel trim controls , click the Play button or drag the playhead  to locate where you want your first clip to start and click the Mark In
  button.
3- Position the playhead where you want the clip to end and click the Mark Out  button
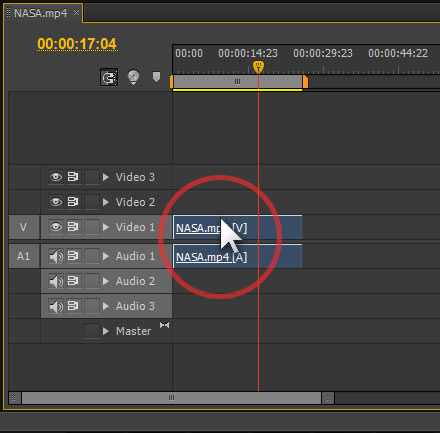
Note : while trimming the video in the source panel you will instantly see the changes in the timeline too
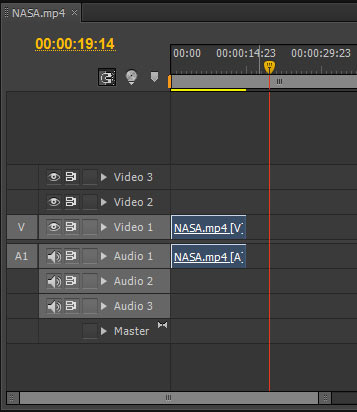
after trimming the video in the source panel the duration of the video is changed in the timeline
4- click and drag the video to the beginning of the time line to make sure there is no empty frames before the start of your clip.
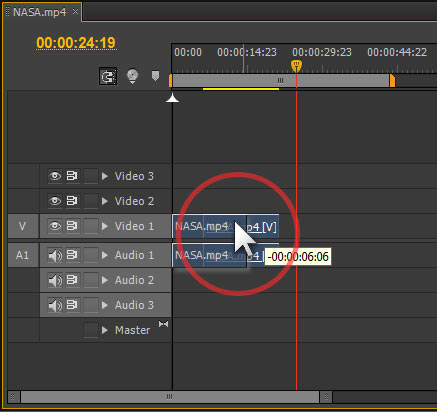
drag the video to the beginning of the timeline
now as we trimmed the first video using the source panel and trim controls, we can go ahead and import another video and mix it with the first one inside the sequence
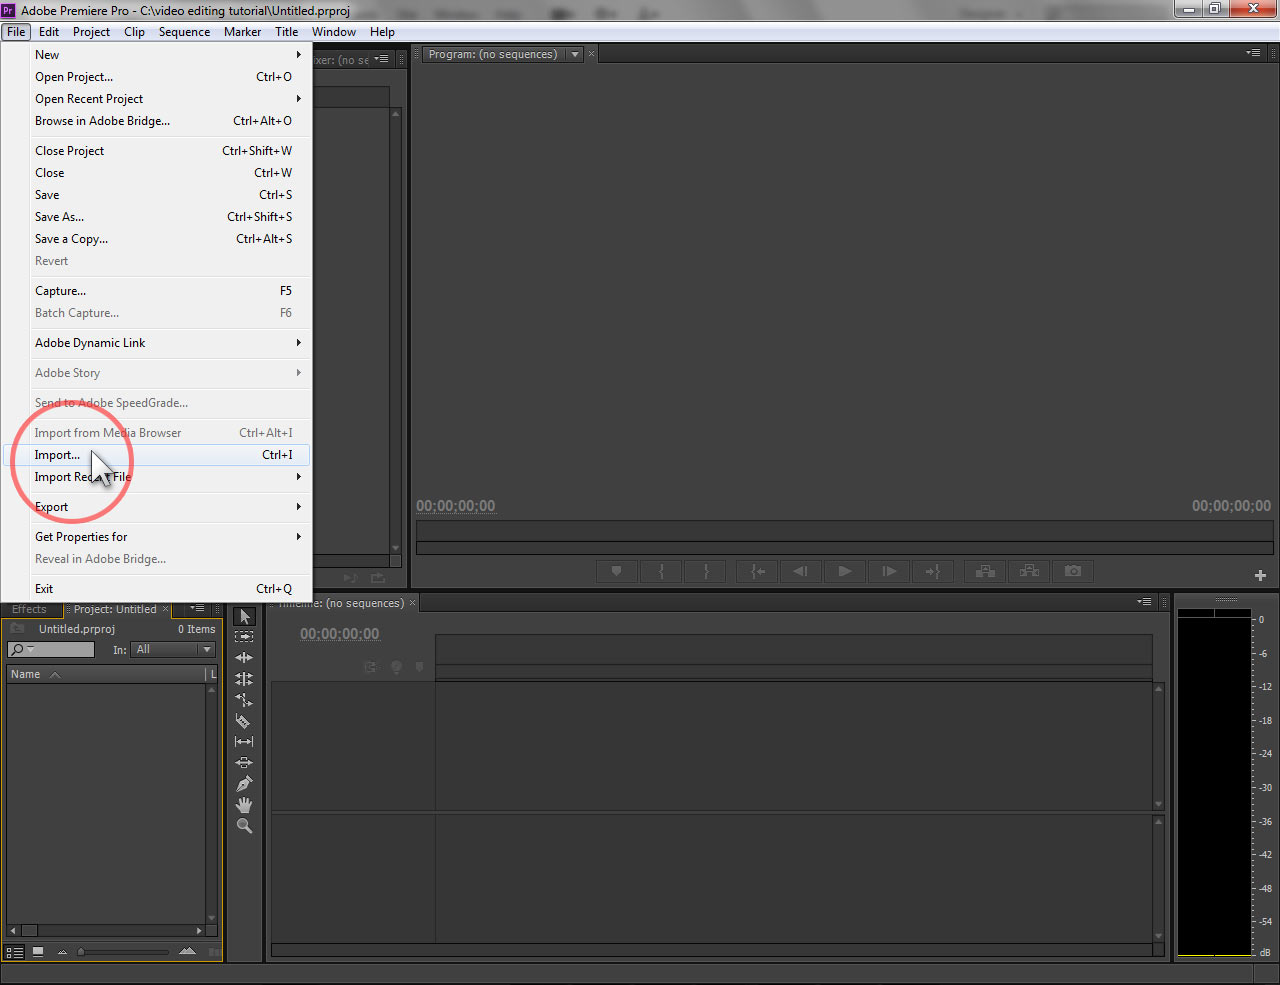
5- import another video from file > import
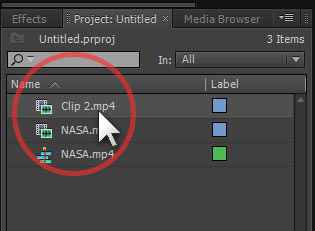
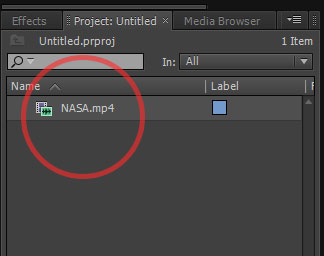
the seconde video apears in the project panel
6- double-click the imported video in the project panel to open it in the source panel and trim it by repeating the previous steps.
after trimming your video you will need to insert it inside the timeline to mix it with the first video.
7- in the source panel Click the Insert button  to add the trimmed Clip 2 to the timeline
Note : before clicking on insert make sure to place the playhead of your timeline in the place where you want to insert the second video.
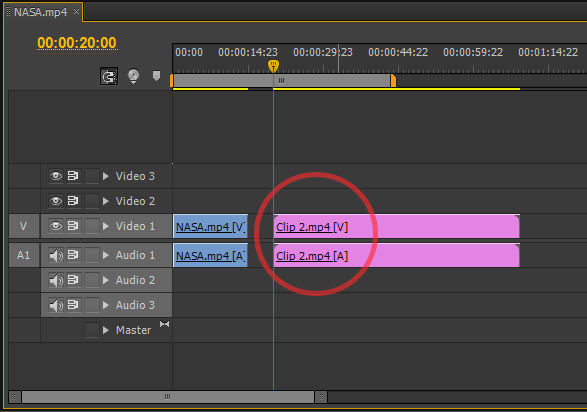
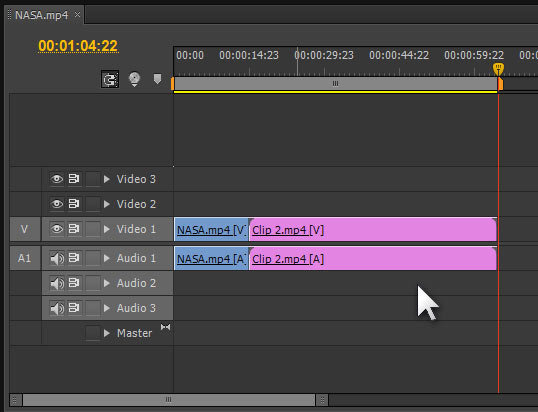
(Clip 2) is inserted where the playhead was placed in the timeline
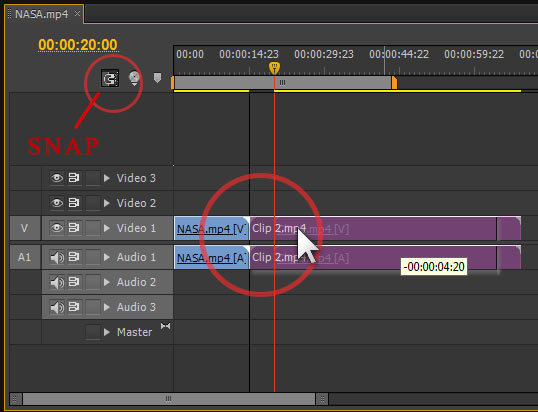
8- click and drag clip 2 to stick it with the first video to avoid empty frames between the two videos
Note : make sure Snap button  is turned on before you drag the video so it sticks properly with the first video
sticking the two videos with each other
now as you done trimming and editing the videos you need to export the entire sequence outside of premiere pro.
for more informations on exporting a video in Adobe Premiere Pro to a compatible format (H.264/MP4) for playing on computers, tablets, smartphones or youtube & vimeo see this quick tutorial Export MP4 Video for YouTube & Vimeo in Adobe Premiere